
A full set manicure includes enhancements to the natural nail, such as extensions or tips, to enhance nail length and beauty. Understanding the cost and steps involved can help you feel more comfortable when visiting a nail salon. This blog will guide you through the process, from preparation before going to a nail salon to aftercare following a full set manicure.
Quick Overview
Getting a full set manicure at a salon involves more than just nail polish—it’s about style, care, and hygiene. This detailed guide helps you understand the full process, from choosing the right salon to post-appointment aftercare. It’s ideal for both beginners and regular salon-goers.
Whether you're preparing for a special event or just treating yourself, this guide walks you through:
✅ Researching and preparing for your appointment
✅ Step-by-step salon process from consultation to design
✅ Aftercare tips to keep your nails looking flawless
Preparation Before the Full Set Manicure Appointment
Choosing the right salon for your manicure involves researching online reviews for hygiene and technician expertise, checking cleanliness, deciding on nail style and length based on your lifestyle, and booking your appointment in advance to ensure a smooth experience.
Choosing the Right Salon for Manicure
Choosing the right salon for your manicure is crucial for a satisfying experience. Consider online reviews highlighting hygiene standards and technician expertise to ensure a professional and safe environment for your nail care needs.
Researching Salons and Reading Reviews
Choosing the right salon is crucial for a great manicure experience. Start by reading online reviews of salons near you. Pay attention to customer comments on the salon's hygiene practices, such as how often they sanitise tools and clean chairs. Reviews about the technicians are also vital; look for mentions of skill, cleanliness, friendliness, and attentiveness to customer needs. Positive reviews and ratings of 4/5 or higher indicate a salon worth considering.
Checking Cleanliness and Hygiene Practices
Since nail salons involve personal care and can pose health risks, ensuring top-notch cleanliness and hygiene is essential. It's advisable to visit the salon beforehand. Verify that equipment like nail files, scissors, and nail lamps are properly sterilised after each client. Additionally, observe if work surfaces are regularly cleaned with alcohol between clients. A clean and well-maintained salon reflects professionalism and reassures potential customers of a safe environment.
Deciding on Nail Style and Length before Manicure
Before your manicure, decide on the nail style and length that best suits your lifestyle and preferences, whether opting for practical short nails or dramatic longer styles in shapes like square, oval, almond, or stiletto.
Exploring Different Nail Shapes and Lengths
Before your appointment, consider what suits you best. Experiment with shapes like square, oval, almond, and stiletto to find what complements your fingers. Also, think about length—longer nails offer drama, while shorter ones are practical and easier to maintain.
Considering Lifestyle and Preferences
Your lifestyle influences your nail choices. Opt for shorter, durable styles if you have an active job or hobbies, and choose simple, slightly curved shapes. Longer and fancier nails may be ideal for a glamorous look without hassle. Ultimately, select nails that reflect your comfort and personal style.
Scheduling an Appointment for Manicure
Scheduling a manicure appointment in advance ensures you secure time with your preferred technician, especially for special occasions, allowing ample preparation to choose your desired nail style and confirm essential details for a smooth experience.
Booking in Advance
It's advisable to book online or in advance, especially if your preferred technician is highly sought-after or for upcoming events. This ensures you secure a convenient appointment time and availability, allowing ample time to decide on your desired nail style.
Confirming Appointment Details
Always double-check your appointment details a day or two beforehand via text or phone call. Confirm crucial information like the date, time, and location, and reiterate any special instructions you previously discussed. This helps prevent any surprises and ensures a smooth appointment experience.
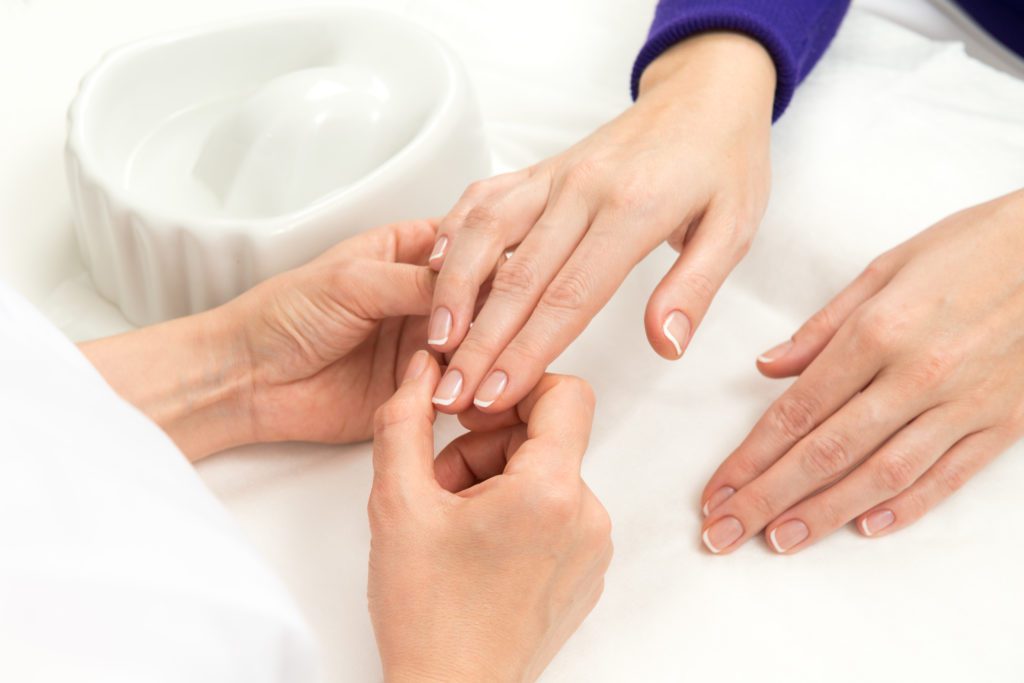
Initial Consultation and Nail Assessment for Manicure
Discuss your manicure preferences and nail health concerns with your technician upon arrival to ensure a tailored treatment and optimal nail care.
Discussing Manicure Preferences with the Technician
Discuss your manicure preferences with the technician upon arrival, including desired nail style, design details, and any specific requests such as nail shape, length, or colour, ensuring a tailored and satisfying experience based on your preferences and needs.
Communicating Desired Style and Design
Upon arrival for your first appointment, inform your technician about your desired nail style and design preferences. Bring photos if you have a specific look in mind and discuss details such as nail shape, length, and colour to ensure your expectations are met.
Sharing Nail Concerns or Issues
Inform your technician about any ongoing nail concerns, such as brittleness or damage, to allow them to tailor the treatment accordingly. This ensures they can recommend the best products and techniques for healthier nails.
Nail Health Assessment
Performing a thorough nail health assessment during your consultation ensures technicians identify any issues like damage or weakness, guiding personalized treatments to maintain optimal nail health before your manicure.
Examining Natural Nails for Health and Strength
During the consultation, the technician will assess your nails for signs of damage, weakness, or infection to determine the appropriate nail extension type and ensure your nails remain healthy.
Discussing Necessary Treatments or Adjustments
Based on the nail health check, the technician will recommend treatments or nail care, such as strengthening treatments or repairs for damaged nails, to enhance and maintain nail health. Discussing these recommendations ensures your nails are in optimal condition before your full set manicure.
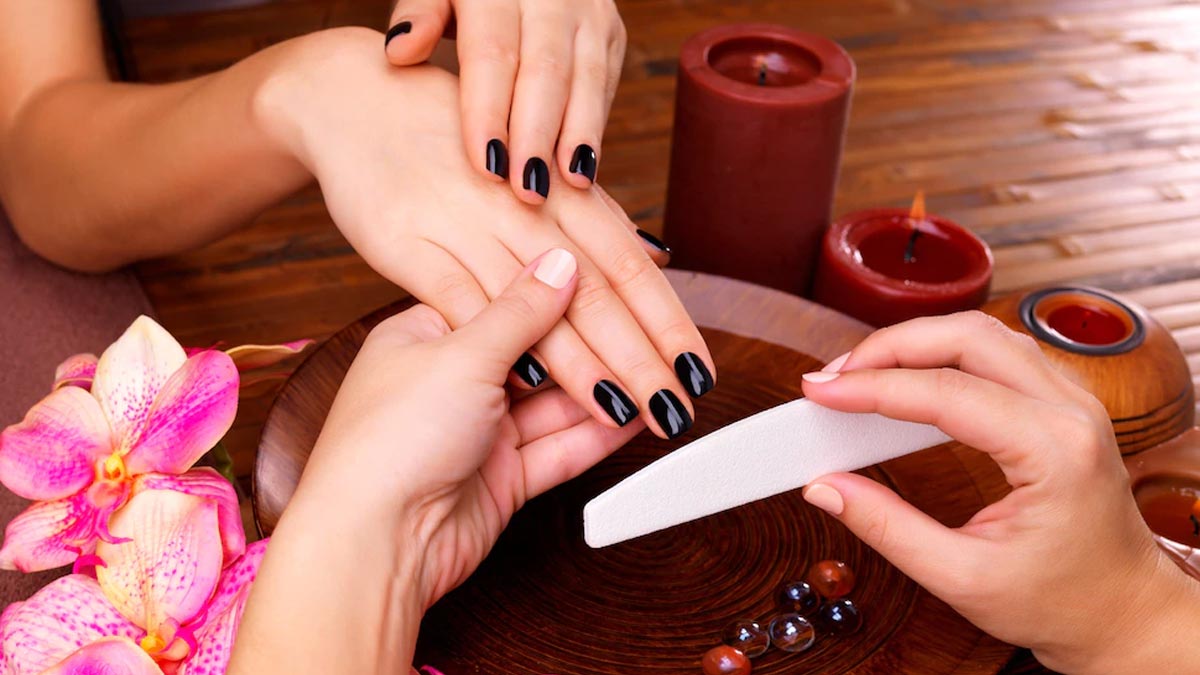
Nail Preparation Before Manicure
Cleaning and sanitising hands and nails at the start of a full set manicure, along with proper nail trimming, shaping, and cuticle care, ensures a hygienic and professional experience.
Cleaning and Sanitizing
Cleaning and sanitizing at the start of a full set manicure ensures hands and nails are free from dirt, oils, and bacteria, promoting a hygienic environment. Technicians maintain ongoing cleanliness of tools and work areas for client safety and satisfaction.
Washing Hands and Sanitising Nails
The initial step of a full set manicure involves cleansing your hands and sanitising your nails to remove dirt, oils, and bacteria, laying the foundation for the procedure. This crucial pre-manicure step ensures the safety and comfort of both the client and the technician, maintaining cleanliness of all tools used.
Ensuring a Clean Work Environment
Maintaining a pristine work environment is essential for a professional full set manicure experience. Technicians wear freshly detailed uniforms and prepare sanitized workstations with lined tables and linen napkins. The area is meticulously organized and tools are regularly sanitized to uphold hygiene standards.
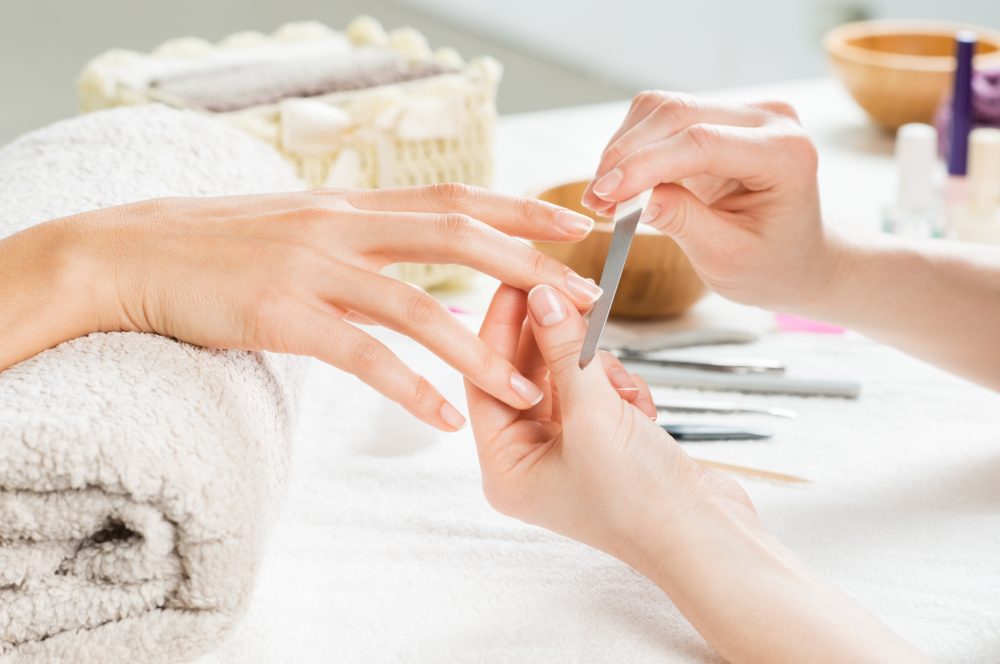
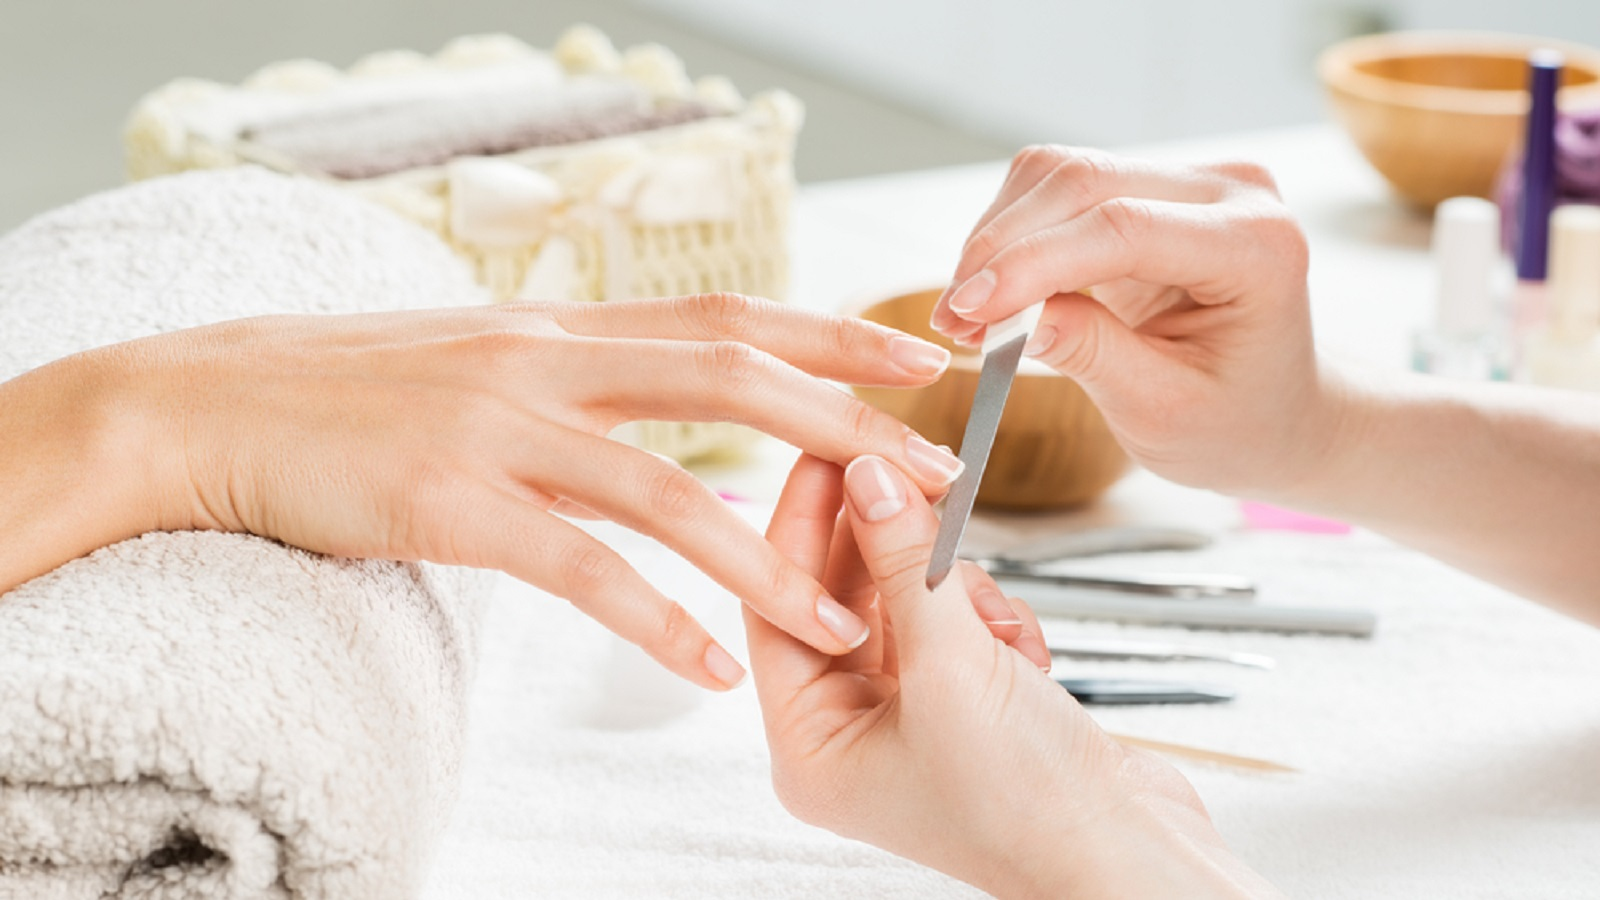
Trimming and Shaping Nails
Nails are expertly trimmed to create a smooth foundation for extensions, ensuring a uniform nail bed. Precision shaping follows to achieve the desired nail style, optimizing adherence and aesthetic appeal.
Cutting Nails to the Desired Length
The technician will trim your natural nails to create an even base for the extensions. This process ensures a clean surface for the extensions to adhere to and helps maintain an even nail bed. The length is cut according to your preference and desired nail style.
Filing Nails into the Chosen Shape
Once the nails were trimmed, they were aligned using a special tool so the technician could shape them precisely. This step is crucial because shaping the extensions correctly saves time, effort, and materials. It also facilitates a smooth application since the extensions are tailored to this specific shape and won't fit any other. After filing the sides and edges to a smooth finish, an acrylic buffer was used to gently round the nails. This slight thickening in the middle and tapering on the sides ensures a comfortable fit over natural nails without snagging on clothing.
Cuticle Care
Cuticle care is essential during full set manicures, ensuring nails are well-prepped for polish and maintaining healthy, hydrated skin around nails. Regular use of cuticle oil promotes nail health and growth while preventing dryness and thickened cuticles.
Pushing Back and Trimming Cuticles
While it may appear neat, it's crucial not to attempt this step alone as the cuticle serves to protect against germs. The technician gently pushes back cuticles and trims excess skin to enhance nail polish application and ensure secure adhesion of glue to the natural nail, crucial for a long-lasting manicure.
Applying Cuticle Oil for Hydration
Cuticle oil is applied to your cuticles, nourishing the skin around your nails to keep it healthy and hydrated. This helps soften your nails and promotes growth. Neglecting cuticle care can result in dry or unhealthy nails, causing them to appear thick and misshapen, whereas regular care keeps them thin and well-shaped.
Tips for Nail Extensions Before Manicure
Choose between acrylic, gel, or alternative materials for nail extensions, considering their unique benefits, and ensure a seamless look through proper sizing, gluing, and blending with your natural nails.
Choosing the Type of Extensions
Choose between acrylic, gel, or alternative materials like silk or fibreglass wraps to achieve your desired nail length and durability. Each option offers unique benefits, from acrylic's robustness to gel's natural appearance and flexibility, ensuring your nails look and feel their best.
Acrylic, Gel, or Other Materials
Choosing the correct type of extension or coverage to use is important to achieve the desired length and longevity. Acrylics have a classic glass-hard look and are extremely hardy. Gel is a favourite for its natural appearance and pliability. Other materials, such as silk or fibreglass wrap, are also available.
Considering the Pros and Cons of Each Type
Acrylic nails can be strong, sturdy, and ultra-long-lasting (best for people who want maximum strength and longevity). However, they are tough to remove and can cause more damage to natural nails. Gel also offers a nice, strong, and polished look but is more flexible and provides a glossier finish. It's generally not as long-lasting as acrylics, and more often than not, you can't get the gel polish on without curing it in UV/LED light. Silk and fibreglass wraps might be less common but are often gentler on your nails and can look natural.
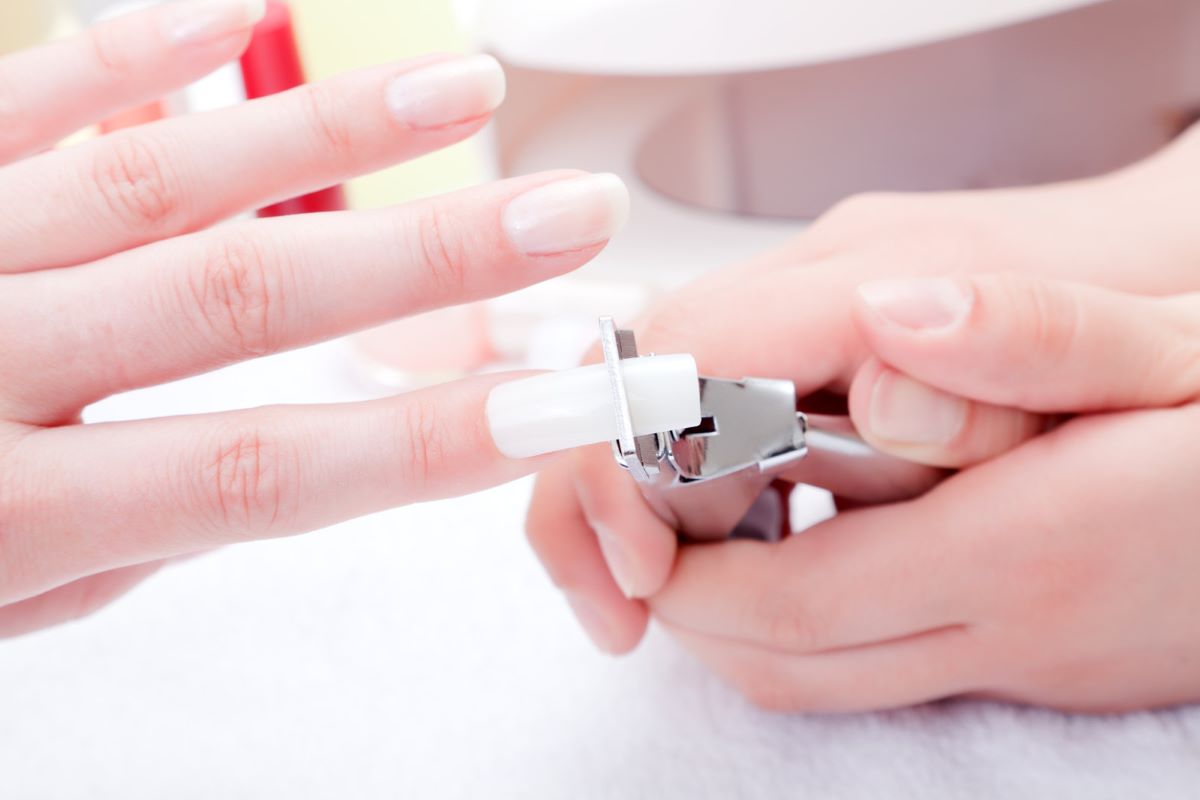
Applying Nail Tips
Applying nail tips involves selecting the perfect size to match your natural nails, securing them with specialised glue, and expertly trimming them to achieve a seamless, natural look.
Selecting the Right Size Tips
The correct size tips must be chosen for your natural nails to ensure a comfortable fit. The width of the tips selected by the technician should match that of your natural nails to enhance comfort. This design aims to provide a very natural and shiny appearance.
Gluing Tips to Natural Nails and Trimming to Length
Once the tips are selected and applied to your nails, a special type of glue is used to secure them onto the natural nail surface. The technician then trims the artificial nails to match the desired shape and length using nail clippers.
Shaping and Blending Tips
Shaping and blending tips involves carefully filing to seamlessly integrate artificial nails with your natural nail bed, ensuring a flawless, natural finish.
Filing Tips to Blend Seamlessly with Natural Nails
The tips are filed down where they meet the natural nails to ensure a gradual transition, avoiding an obvious appearance. This step is crucial because natural nails cover the skin, while extensions extend beyond it. If the tip extends past the skin, the extensions won't adhere properly. The nail technician carefully files the edges of the tips and the surface of your natural nails to create a virtually undetectable extension.
Ensuring a Smooth and Even Surface
This additional smoothing and evening out of the surface is essential for achieving a uniform appearance in the final stage of the process. The technician meticulously files and buffs each tip to create a solid foundation.
Applying the Base Layer During a Manicure
Priming the nails with a specialised primer and applying a base coat ensures optimal adhesion and longevity for acrylic extensions, often cured under UV/LED light for durability.
Priming the Nails
Priming the nails involves using a specialized primer to prepare the natural nail surface, ensuring optimal adhesion for longer-lasting acrylic extensions and a flawless finish.
Using a Nail Primer to Prepare for Application
Priming the nails: We use a nail primer to buff and create surface adhesion on the natural nail. This ensures a strong bond for longer-lasting extensions and removes oils from the nail bed, enhancing adhesion.
Ensuring Proper Adhesion and Longevity
Using a primer on each nail is highly recommended to secure the acrylic extensions effectively until your next salon visit. Proper adhesion is crucial for a beautiful nail appearance and extended wear.
Applying the Base Coat
Applying the base coat involves meticulously applying a thin layer to each nail, ensuring a smooth foundation that enhances the adhesion and longevity of subsequent gel or acrylic layers for a polished finish.
Spreading an Even Base Layer on All Nails
Afterward, a base coat will be applied. The technician will carefully apply a thin layer of base coat to all your nails. This creates a smooth and even surface for the subsequent gel or acrylic layer.
Curing the Base Coat Under UV/LED Light (If Applicable)
For gel extensions, the base coat is applied first and then cured under a UV/LED light. This process hardens the base coat, supporting the gel overlay. To ensure the extension's durability over natural nails, curing is a crucial step.
Building the Nail Structure During a Manicure
Applying acrylic, gel, or other materials involves covering the nails, shaping them to the desired thickness, and curing under UV/LED light to ensure durability and a polished finish.
Applying the Chosen Material
Applying the chosen material involves carefully covering each nail with acrylic, gel, or another selected substance to achieve the desired aesthetics and functionality.
Applying Acrylic, Gel, or Other Material on Nails
After selecting the material—whether acrylic, gel, or another type—the technician carefully applies it to fully cover the nails and extend to the tips, achieving the desired look precisely.
Creating the Desired Nail Shape and Thickness
In this crucial step, the designer shapes the material to the preferred nail shape and thickness, ensuring functionality and longevity while adhering to standard shapes like square or oval, and optionally, more unique styles such as cat's claws.
Curing and Setting the Nails
Curing and setting the nails involves using UV or LED light to harden each layer of gel, ensuring strong adhesion and durability for long-lasting, beautiful nails.
Using UV/LED Light to Cure the Material (If Applicable)
For gel extensions, each layer of gel is cured with either ultraviolet (UV) light or a light-emitting diode (LED) light after application to both the tips and natural nail. Proper curing ensures each layer hardens and adheres effectively, contributing to the strength and durability of the finished nail.
Allowing Time for the Nails to Set and Harden
After application and curing, adequate time is essential for the extensions to fully set and harden. This patience ensures the nails are strong and ready for subsequent steps such as shaping, filing, refining, and applying colour or design, crucial for achieving long-lasting and beautiful nails.
Shaping and Refining the Nails During a Manicure
Filing and buffing shape nails into styles like square or stiletto, ensuring a smooth surface and consistency for a professional and lasting manicure.
Filing and Buffing
Filing and buffing shapes nails to desired styles like square, oval, almond, or stiletto, creating a smooth, flawless surface essential for lasting manicures.
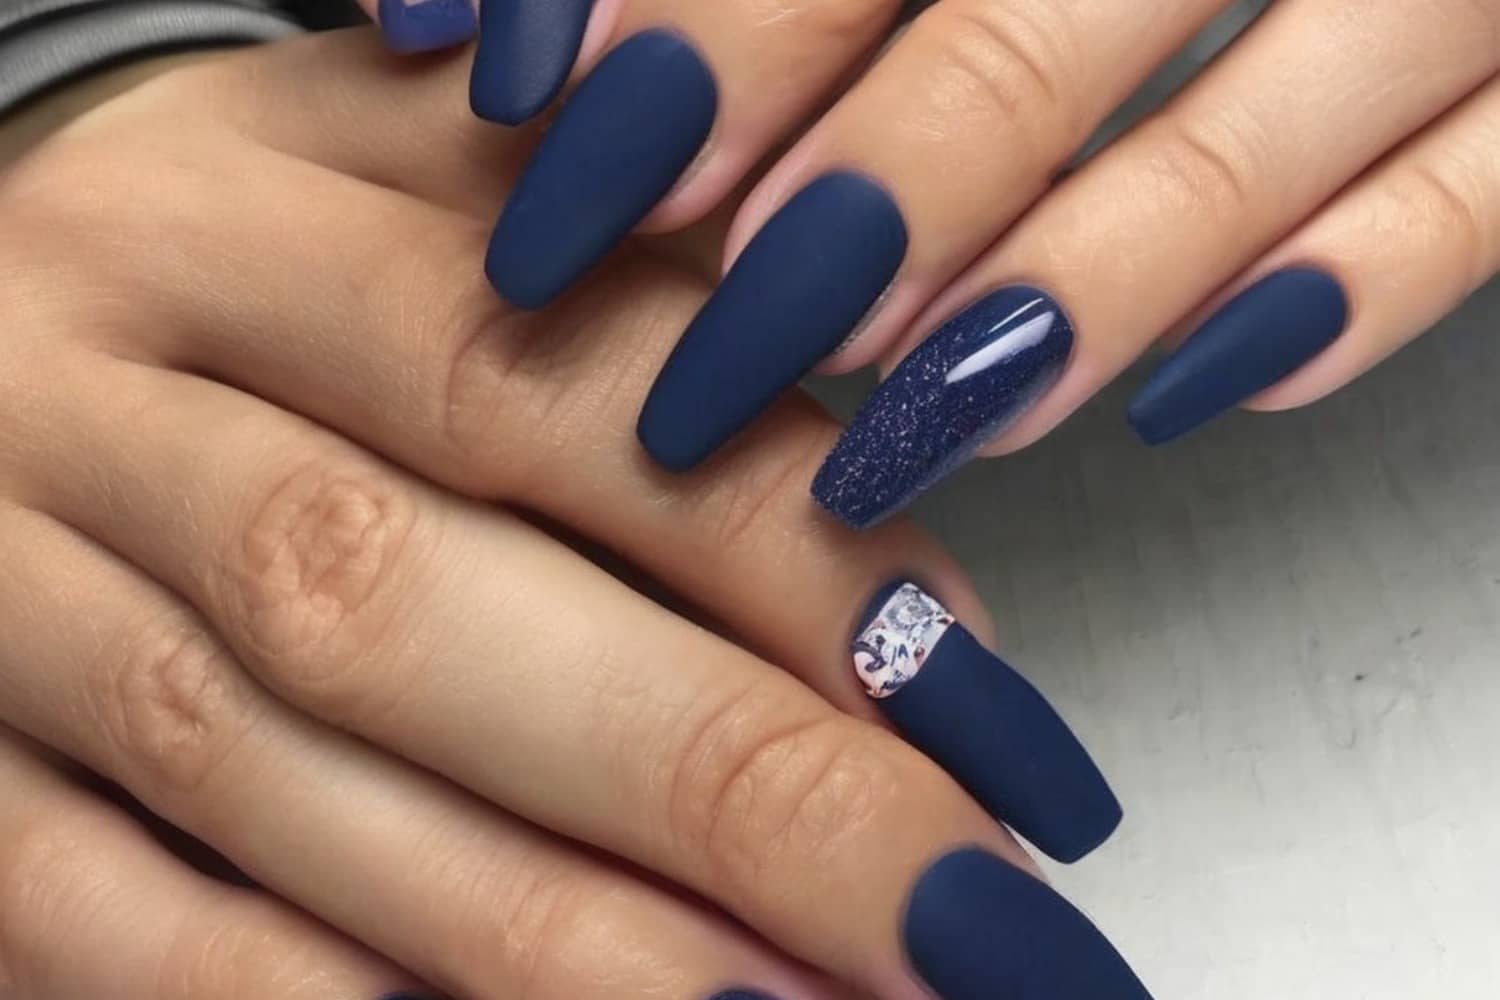
Shaping the Nails to the Final Desired Shape
Once the material sets, the technician will cut and shape your nails to your preferred style. This includes filing the nails into shapes such as square, oval, almond, or stiletto, ensuring uniformity and meeting your satisfaction.
Smoothing and Refining the Surface
Following shaping, the technician polishes the nail surface to smooth out any ridges or irregularities. This step ensures the nails have a polished and even finish, crucial before applying colour or designs. Buffing also enhances the topcoat's adhesion, maintaining a shiny and long-lasting manicure.
Checking for Consistency
Checking for consistency ensures each nail is uniform in length and shape, crucial for achieving a professional and polished full set manicure.
Ensuring All Nails Are Even and Symmetrical
Consistency is key to achieving a professional-looking manicure. The technician meticulously ensures each nail is uniform in length and shape, paying close attention to detail to ensure they complement each other.
Making Necessary Adjustments
If any nails are inconsistent, the technician will adjust them accordingly, whether by further filing or buffing. This meticulous attention to detail distinguishes between a mediocre and exceptional job, making it a crucial final step in achieving a polished finish.
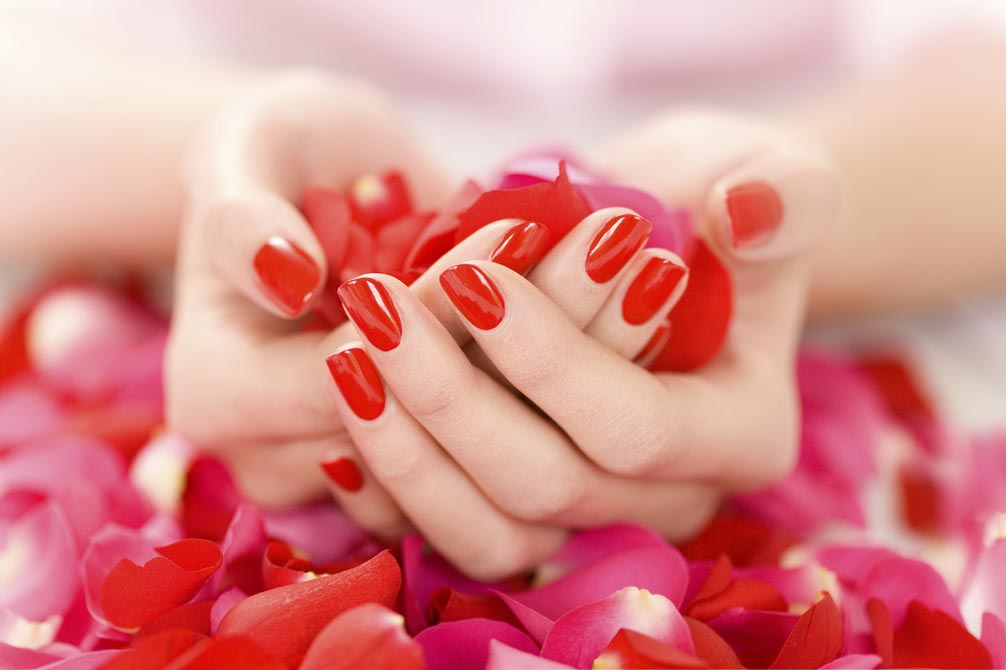
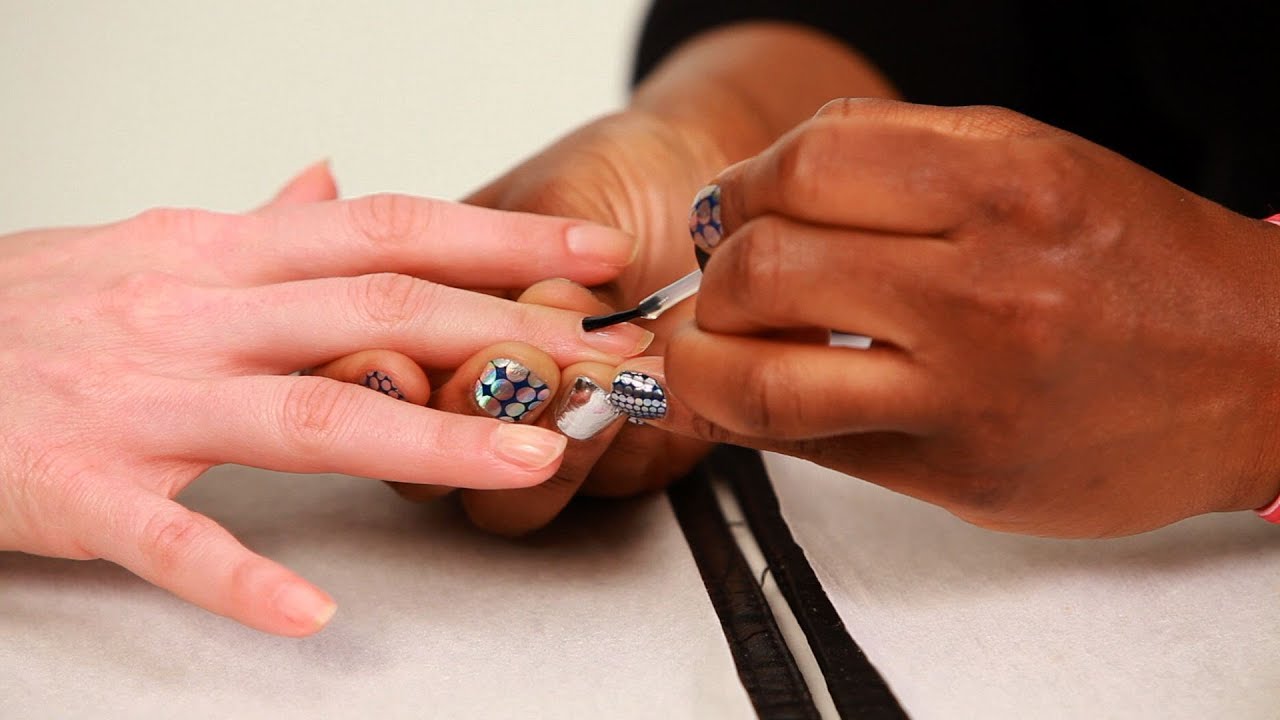
Applying the Color or Design During a Manicure
Choosing the right nail polish or gel colour, applying designs, and curing under UV/LED light ensures a polished and durable full set manicure that reflects your personal style.
Choosing the Nail Polish or Gel Color
Choosing the nail polish or gel colour involves selecting from a diverse range that complements your personal style and preferences, ensuring a perfect match for your full set manicure.
Selecting the Desired Colour and Finish
With a wide array of colours available, the manicurist assists in choosing a shade that suits your style and personality. Options range from classic nudes to bold statement shades like bright reds or trendy pastels.
Considering Nail Art or Additional Designs
This is the moment to discuss any desired nail art or designs. The technician will suggest options that complement your chosen colour and manicure type, offering simple swirls and stripes or more intricate designs to enhance your nails.
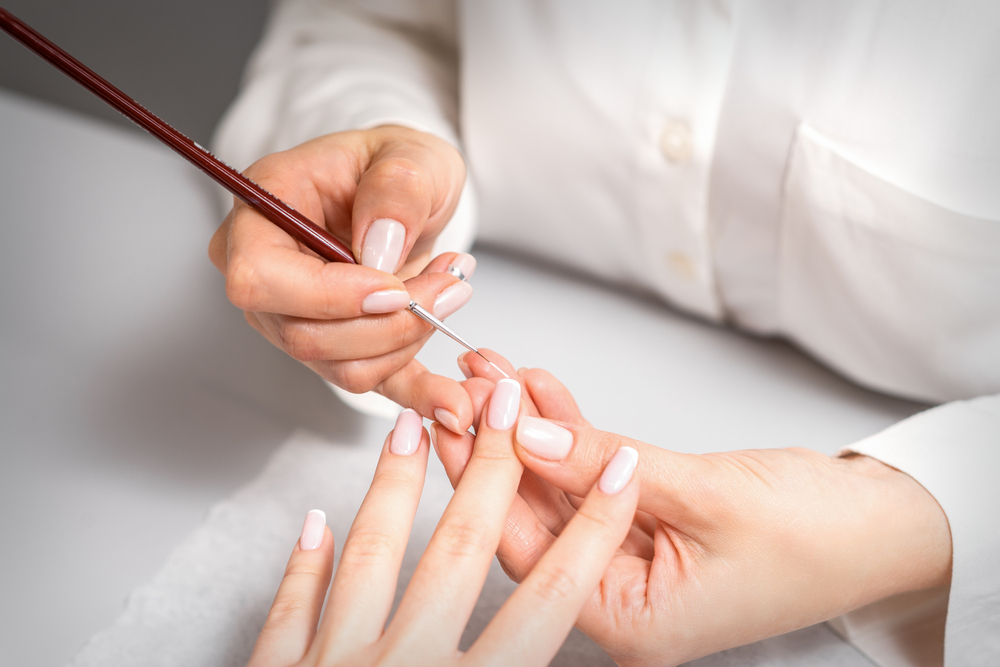
Applying Color or Design
Applying colour or design involves carefully applying nail polish or gel across each nail, ensuring a polished appearance. Optional nail art techniques like patterns, decals, stamping, or marbling add creative flair to the full set manicure.
Applying an Even Coat of Colour on All Nails
The technician will apply a top coat of either nail polish or gel colour evenly across all nails. This final application ensures a smooth finish; uneven application can lead to streaks and air bubbles, detracting from the nail's appearance.
Adding Nail Art or Design Elements
If you've opted for nail art, this is the next step. It may involve painting patterns, applying decals, stamping, or marbling to create a unique full set manicure. A final top coat completes the full set manicure, enhancing its longevity and aesthetic appeal.
Curing and Sealing the Color
Curing and sealing the colour involves using UV or LED light to harden gel polish layers for durability, followed by applying a top coat to enhance shine and longevity.
Curing the Colour Under UV/LED Light (If Applicable)
If gel polish is used, nails are placed under UV/LED light immediately after applying the colour to cure and harden the gel, ensuring better adhesion and durability. Each layer must be cured to ensure the gel manicure lasts longer.
Applying a Top Coat to Seal and Protect the Design
The final step in the colour layering process is applying a clear top coat, which seals and protects the design. This layer enhances durability and shine, preventing chipping and extending the lifespan of the manicure.
Final Touches and Aftercare For Manicure
Moisturising and massaging hands and cuticles enhances hydration and circulation, while final checks ensure satisfaction and provide aftercare tips for maintaining healthy nails.
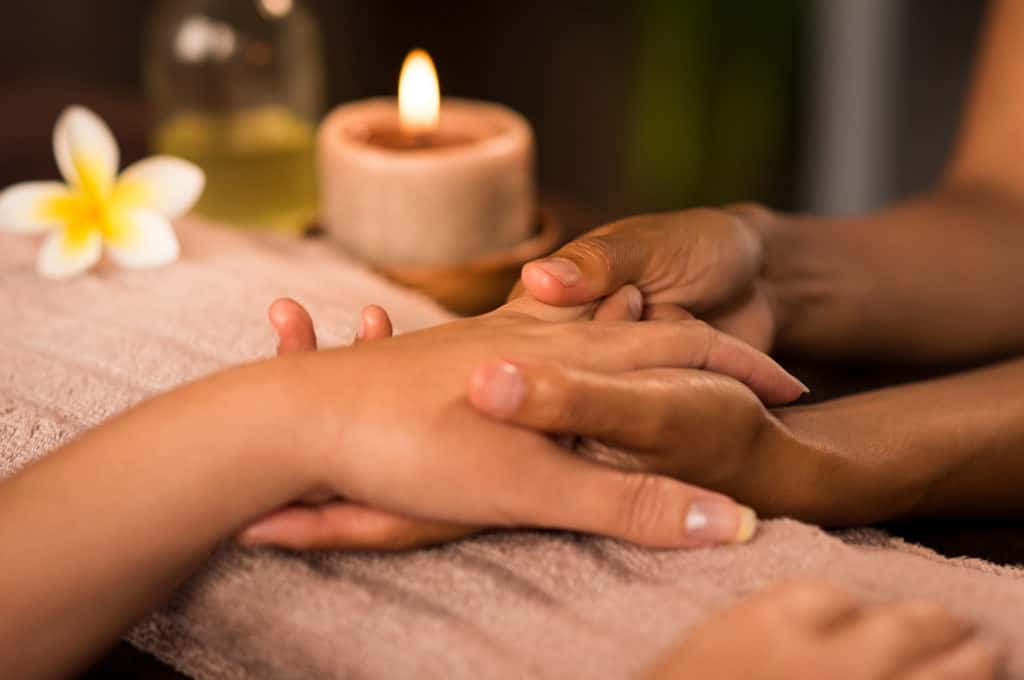
Moisturising and Massaging
Moisturising and massaging hydrates hands and cuticles, promoting soft, healthy skin while enhancing circulation for a relaxing finish.
Applying Hand and Nail Moisturiser
Next, the technician moisturises your hands and nails with a softener to hydrate the skin and cuticles, leaving them soft and healthy. Moisturising is crucial as a final step in nail and skincare.
Massaging Hands and Cuticles for Hydration
The gentle hand and cuticle massage improves circulation and enhances hydration. This soothing massage completes the experience, ensuring thorough absorption of the moisturiser.
Reviewing the Final Result
Reviewing the final result ensures every detail meets your satisfaction before you leave, ensuring a flawless finish and addressing any necessary adjustments for perfect nails.
Checking for Any Imperfections or Adjustments
Before you leave, the technician will ensure a final check together to ensure there are no visible nail dents or areas needing adjustments. Our goal is to ensure each nail is perfect and meets your satisfaction. Any necessary touch-ups are complimentary to guarantee your complete happiness.
Ensuring Client Satisfaction
Ultimately, client satisfaction is paramount. The nail technician will ask for your feedback on the service and the finished result, ensuring you leave feeling delighted with your nails. A reputable salon aims to provide a wonderful experience, ensuring your satisfaction.
Providing After care Tips
Providing aftercare tips ensures your full set manicure lasts, offering advice on preventing damage and maintaining healthy nails at home.
Advising on How to Maintain the Nails at Home
Your technician will provide aftercare advice to help maintain your full set manicure between appointments. This may include tips to prevent nails from breaking or chipping, recommended products for home use to prevent nail damage, and other helpful beauty tips.
Recommending Follow-Up Appointments
Maintenance is essential for your health and beauty. After completing your service, the nail technician will recommend the frequency of follow-up visits to keep your nails healthy and beautiful. This could range from monthly to bi-weekly visits, depending on your nail care needs and the technician's advice.
Conclusion
A full set manicure involves meticulous work, encompassing preparation, nail assessment, shaping, colour application, and aftercare. Each step ensures your nails look great and remain beautiful for an extended period. Enjoy your full set manicure, take your time to relax and pamper yourself. Proper care and maintenance, including regular visits, can keep your nails trim and healthy.